
4D v16.3
Adding columns and labels
 Adding columns and labels
You create a report by adding columns containing field references or formulas.
You can add and organize field columns in two ways:
- directly in the quick report preview area
- using the fields list window.
Adding formulas is described in the Adding calculations section.
- When you work in Design mode, the Quick Report editor considers all database relations as automatic, and thus allows access to all the related data of the database. In Application mode, when the editor is called using the QR REPORT command, non-automatic relations are not automatically enabled and it is up to the developer to manage the status of the relations.
- Invisible tables and fields do not appear in the lists of fields of the Quick Report editor. For more information about this property, refer to the “Invisible” paragraph of the Table properties and Field properties sections.
- Object and Blob type fields are not supported by the Quick Report editor.
You can work with columns directly in the report template or using the list window (see the following section).
You can add, insert or duplicate columns in the report design template. When you add a column, the editor automatically uses the next "available" field of the current table, in the order of creation.
You can use the (+) icon that is shown at the top of each column separator:

- Clicking directly on the icon adds a new column at the end of the report.
- A right-click on this icon displays a pop-up window where you can either choose to add all fields of the current table, or add a formula.
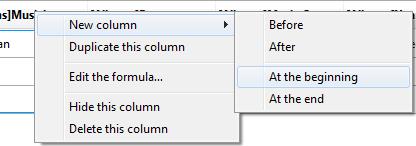
Each column of the report has a pop-up window that you can use to insert another column: either before or after the existing one, or at the beginning or end of the report. A pop-up window is also available at the top left corner of the report design template:

You can also duplicate a column using the pop-up window available when you right-click on its header: just choose the Duplicate this column command and an identical column is added to the right of the original one.
You can move a column at any time by clicking on its header and dragging it to a new location.
As you specify fields for your quick report, you may want to remove certain columns. To delete a column, right-click on its header, then select the Delete this column command from the pop-up window.
You can replace a field with a formula and vice versa:
- Double-click on the column header, or right-click on it and choose Edit the formula... in the pop-up window.
The standard Formula editor of 4D appears, allowing you to designate the new data source of the column (field or formula).
When you print the quick report, 4D prints the results of the formula for each record that appears in the Format row. For more information about this point, refer to Associating formulas with a quick report.
You can click on the Fields button in order to access the available fields window, where you can organize the columns of the editor displayed in the form of a list.

The window has two adjacent lists:
- Available Fields includes all the fields of the current table as well as fields of any related tables
- Report Columns lists the columns currently included in the report.
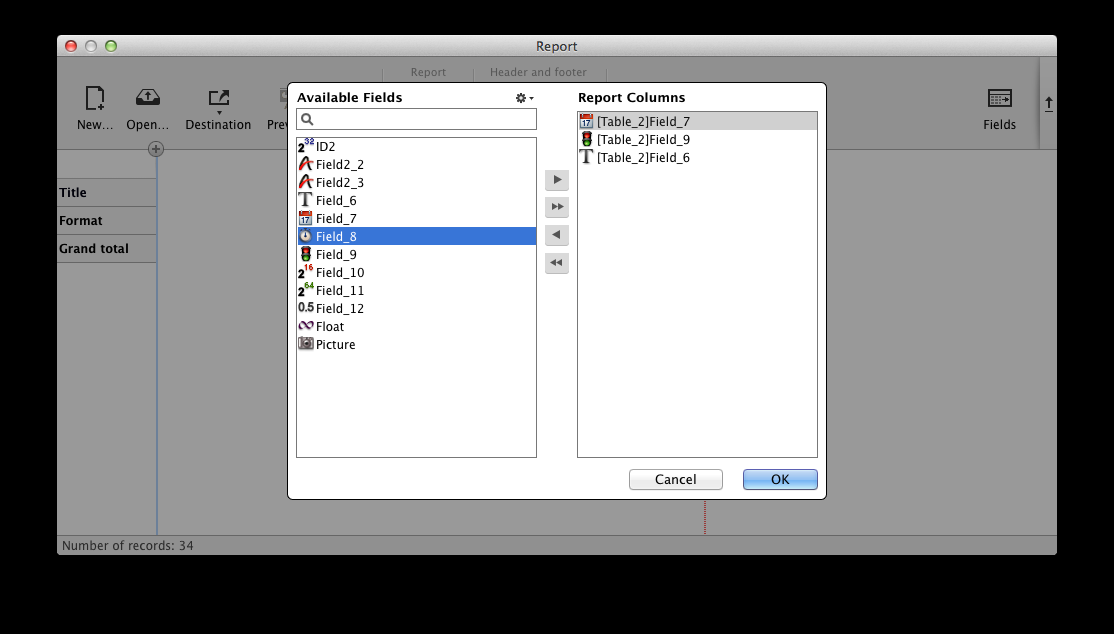
You can add and remove fields in the Report Columns list using the arrow buttons found between the lists, and you can change the order of the fields by dragging them up or down directly in this list. You can also add fields by simply double-clicking them in the Available Fields list.
When you click OK, all the changes made are automatically mirrored in the report itself. For example, if you remove or add a field in the Report Columns list, the corresponding column is also removed or added in the report itself; the same goes for any changes made in the field/column order.
Note: The search area performs a "contains" type search; i.e., it displays all fields whose name contains the letter(s) entered.
You can use the action menu  to sort the Available Fields list, or quickly add multiple fields from this list to the Report Columns list
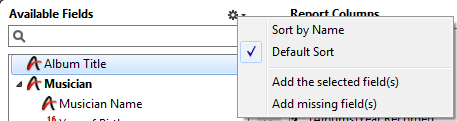
- Sort by Name: sorts fields alphabetically.
- Default Sort: sorts fields based on order of creation.
- Add the selected field(s): adds fields to Report Columns list, in the same order they are selected.
- Add missing field(s): adds all fields (not already included) to Report Columns list.
You can add quick report columns whose contents are calculated automatically by formulas when the report is generated. For example, you can add a formula that computes employees’ monthly salaries from an Annual Salary field.
To add a formula type column:
- Add or insert a new column (see above).
- Double-click on the column header or right-click on it and choose Edit the formula... in the pop-up window.
4D displays the Formula editor. The editor displays the current contents of the column. The formula you create will replace it.
Note: Make sure that the formula you create does not change the current selection. Changing the current selection will cause problems when you print the quick report since the report is based on the current selection. - Build the formula by selecting fields, operators, 4D commands and/or methods, then enter the desired values in the editing area.
OR
Click the Load... button to retrieve an existing formula from disk.
For more information about the formula editor, refer to the Formula editor section.
To save the formula as a file that you can retrieve and use in another column or in another report, click the Save... button and enter a file name in the dialog box. - Click OK to assign the formula to the column.
4D adds a new label to the column that identifies it as a formula. You can rename the column by typing a label into the header cell for that column. The formulas are labelled C1 to Cx. These labels are the name of the variables containing the current value of the column. You can use these variables in other formulas.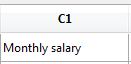
Note: The Cx variables for quick reports must be typed in case of database compilation (see Quick report variables).
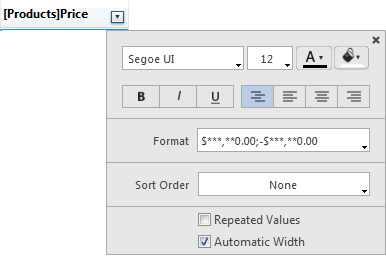
By default, the Quick Report editor sizes columns automatically, as reflected in the Automatic Width button. It sizes each column based on the maximum length of data displayed in the column as well as any labels typed into the column. The Quick Report editor sizes the columns when the report is printed.
This operation is enabled for a column when the Automatic Width attribute has been associated with it. You can set and view the activation of this option in the pop-up window associated with the column:
To view the widths of each column, preview the report on screen by clicking on the Preview button.
Because selecting the Automatic Width option changes the column width based on the maximum width of the data in the records being printed, selecting different records can change the column size.
You can resize a column manually, which automatically causes the Automatic Width option to be deselected (where applicable). When a column size is set manually, the column text wraps within the specified area.
You can add or modify text in the quick report form to label parts of the report. For example, if you requested summary calculations, you can label them by adding text to other cells in the Subtotal and Grand total rows. You can add and modify text as follows:
- Edit the text that 4D automatically adds to the Title row of the report.
- Insert text in empty cells of the Subtotal and Totals rows.
- Insert the value of a Subtotal field in the Subtotal rows,
- Specify the font, font size, justification, and style for any text that appears in the report.
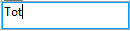
To add text, double-click on an empty cell in the quick report form. A text insertion point appears in the cell, so that you can enter your label:
Note: A local menu also appears so that you can add a calculation. 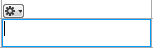
If you are entering a label for a summary calculation, select a cell in the same row as the cell containing the calculation icons. You cannot enter text in the same cell that contains summary calculations.
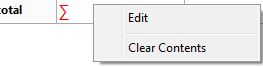
To modify text, double-click in a cell to switch to editing mode. You can also right-click in order to display a pop-up window allowing you to edit or clear the cell contents:

Product: 4D
Theme: Quick reports (64-bit)
4D Design Reference ( 4D v16)
4D Design Reference ( 4D v16.1)
4D Design Reference ( 4D v16.3)


