
4D v16.3
Adding headers and footers
 Adding headers and footers
You can add page headers and footers to your quick report. They are inserted when the report is executed.
The Quick Report editors allow you to do the following:
- Add page header and footer text or pictures,
- Specify the height of the page header and footer areas,
- Use separate text for left, center and right parts of the header and footer,
- Specify fonts, font sizes, and font styles for page header and footer text,
- Insert codes that add page numbers as well as the date and/or time to your reports.
You can only specify page headers and footers when printing to a printer. However, once they are defined, they are kept with the report, even if the destination is modified. For more information about alternate output destinations, refer to Executing a quick report.
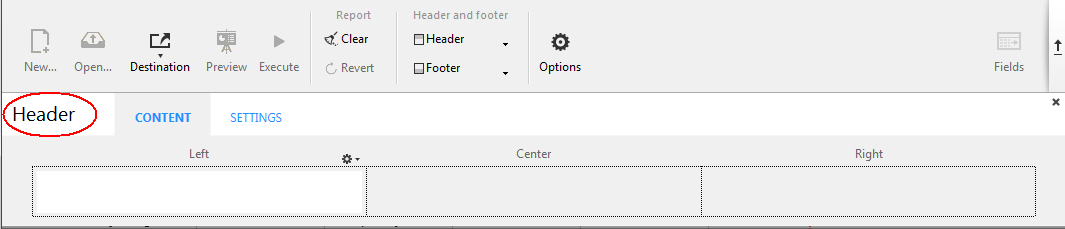
To add page headers and footers in a report design template, click on the Header or Footer button in the tool bar of the editor:
A definition area appears. This area works the same for headers or footers, only the label changes depending on which button you clicked:

You can use the Content page of the header and/or footer editor to define the content, both static and/or variable, to be displayed in each header and footer.
In the Left, Center and/or Right areas, you can enter information to be included in the report. You can insert the page number, as well as the date and/or time of execution in the header or footer of your report. There is a local menu above each entry area that you can use to insert variables:
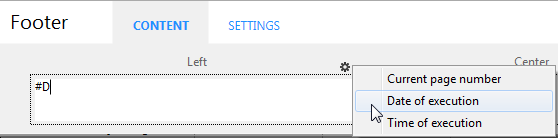
You can also enter the code of these variables directly in the area:
- #H to insert the time of execution,
- #D to insert the date,
- #P to insert the page number.
You can use the Settings page to configure the appearance of header and footer areas:
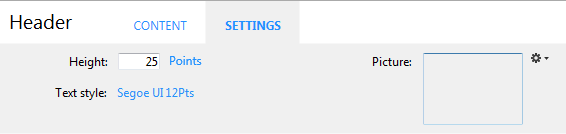
For each area, you can define:
- its height
- the font and text style
- a picture
Height
Enter the desired height for the header or footer in the Height area as well as, optionally, the unit. By default, the header and footer size is set to 25 points. You can change this value as well as the unit used. Click on the unit in order to scroll through the available values:
Text style
You can modify the font using a menu linked to the "Text style" area. To choose a font style, size or color, choose the Show font... command at the bottom of this menu in order to display a font selection system dialog box.
Picture
You can use this area to set a picture as the header or footer.
To add a picture, you can:
- drag and drop a picture or a picture file onto the area.
- choose the Load... command in the local menu associated with the area:

By default, the picture is pasted in the center of the header or footer area. However, you can modify its location (Aligned to left, Centered, or Aligned to right) using the local menu.
The Apply the height of the picture to the area option lets you automatically resize the height of the header or footer based on that of the picture inserted:


Product: 4D
Theme: Quick reports (64-bit)
4D Design Reference ( 4D v16)
4D Design Reference ( 4D v16.1)
4D Design Reference ( 4D v16.3)


