
4D v16.3
Managing menu bars
 Managing menu bars
4D lets you associate a custom splash screen picture with each menu bar and to preview this menu bar at any time.
You can enhance the appearance of each menu bar by associating a custom splash screen with it. The window containing the splash screen is displayed below the menu bar when it appears. It can contain a logo or any type of picture. By default, 4D displays the 4D logo in the splash screen:
A custom splash screen picture can come from any graphic application. 4D lets you paste a clipboard picture, use a picture from the library or use any picture present on your hard disk. Any standard picture format supported by 4D can be used.
To modify the splash screen picture:
- In the menu editor, select the menu bar with which you want to associate the custom splash screen.
Note the "Background Image" area in the right-hand part of the window. - To open a picture stored on your disk directly, click on the Open button.
OR
Click in the “Background Image” area.
A pop-up menu appears, which provides various options for adding a picture.- To paste a picture from the clipboard, choose Paste.
- To select a picture stored in the picture library, choose Library Pictures (if the picture library is empty, this item is not displayed).
- To open a picture stored in a disk file, choose Open.
- If you choose Open, a standard Open file dialog box will appear so that you can select the picture file to be used.
Once set, the picture is displayed in miniature in the area. It is then associated with the menu bar.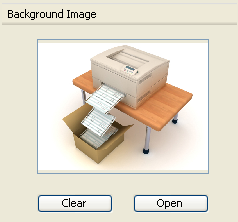
You can view the final result by testing the menu bar (see the following section). In Application mode, the picture is displayed in the splash screen with the “Truncated (Centered)” type format.
Note: You can choose whether to display or hide this window in the Database Settings (see “User” in Interface page ).
To remove the custom picture and display the default one instead, click on the Clear button or click in the “Background Image” area and choose Clear in the pop-up menu.
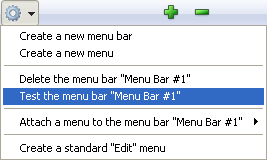
The Menu Bar editor lets you view the custom menus and splash screen at any time, without closing the tool box window.
To do so, simply select the menu bar and choose Test the menu bar “Menu Bar #X” in the context menu or the options menu of the editor.
4D displays a preview of the menu bar as well as the splash screen.
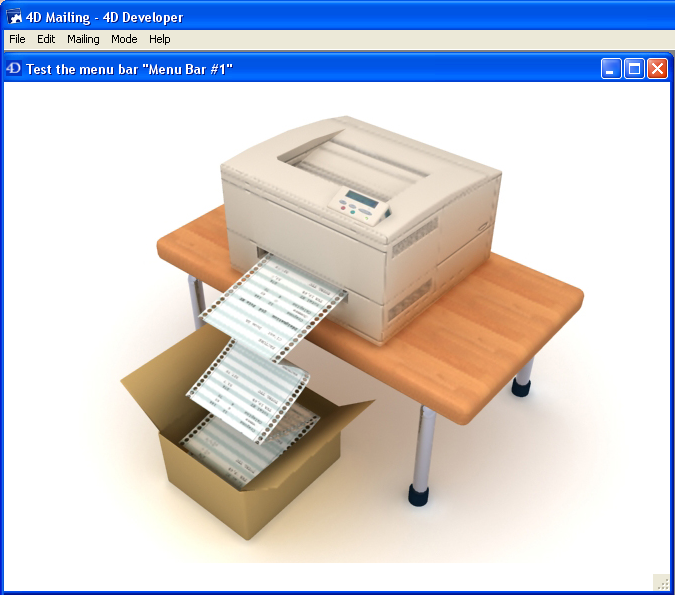
You can scroll down the menus and submenus to preview their contents. However, these menus are not active. To test the functioning of menus and the toolbar, you must use the Test Application command from the Run menu.
Menu bars provide the major interface for custom applications. For each custom application, you must create at least one menu bar with at least one menu. See Building a 4D Application in the 4D Language Reference manual for more information about creating custom applications.
You can create menu bars for the Application environment regardless of whether you are creating a custom application or simply creating menus for use in the Application environment. By default, Menu Bar #1 is the menu bar displayed in the Application environment. You can change which menu bar is displayed using the SET MENU BAR command.
If you define a menu command without assigning it a method, choosing that menu command exits the Application environment and returns to the Design mode (if access to this mode is allowed). If you are using the application with 4D Desktop, leaving the Application environment causes you to exit the application.
If you are using the full 4D application, a password access system can be set up to control where each user is placed after leaving the Application environment. In fact, you can define an access group for the Design Environment in the Database Settings dialog box (see Giving users Design environment access).
Users who do not belong to the access group set for the Design environment will not be able to access it from the Application mode by either selecting a menu command, or by pressing the Alt+Shift+right click (Windows) or Option+Command+right click (Mac OS) shortcut, which displays the process pop-up menu (see Debugger). When users that do not have the adequate access privileges attempt to switch to the Design environment, 4D quits. The Designer and the Administrator always have access to the Design environment, even if they do not belong to the Design environment access group. For more information, refer to the chapter Users and groups.

Product: 4D
Theme: Menus and menu bars
4D Design Reference ( 4D v16)
4D Design Reference ( 4D v16.1)
4D Design Reference ( 4D v16.3)


