4D v16.3
Adding page headers and footers
4D v16.3
Adding page headers and footers
 Adding page headers and footers
Before printing a quick report, you can add page headers and footers. You specify page headers and footers in the Headers and Footers dialog box.
Use this dialog box to do the following:
- Add page header and footer text or pictures,
- Specify the size of the page header and footer areas,
- Use separate text for left, center and right parts of the header and footer,
- Specify fonts, font sizes, and font styles for page header and footer text,
- Insert codes that add page numbers and the date and time to your reports.
You can only specify page headers and footers when printing to a printer. However, once they are defined, they are kept with the report, even if the destination is modified. For more information about alternate output destinations, refer to Executing a quick report.
To add page headers and footers:
- Choose Header and Footer... from the File menu.
The Headers and Footers dialog box appears.
Note: The preview area takes the print format configuration into account.
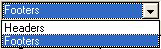
The Headers and Footers dialog box lets you specify both headers and footers using the same screen. Use the Headers/Footers drop-down list to indicate the one you currently want to define. - Choose Headers or Footers from the selection menu:
- Enter the header or footer height in the Height area.
When you first enter the dialog box, the header and footer heights are set to 25 points each. You can not only change these values, but can change the measurement scale to enter values in inches or centimeters as well.
As you enter the header and footer height, the lines on the page preview area change to indicate the size of the header and footer as they will appear in the printed report. - If you want to use a picture, paste it in the picture area (using standard copy-paste commands):
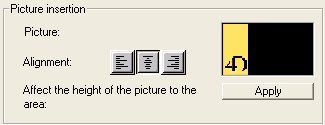
- By default, the picture is pasted in the center of the header or footer area. However, you can modify its alignment by clicking on the alignment icons:

- If you want the height of the picture to become the height of the header/footer, click the Apply button:


- By default, the picture is pasted in the center of the header or footer area. However, you can modify its alignment by clicking on the alignment icons:
- Select an entry area and type the header or footer text:
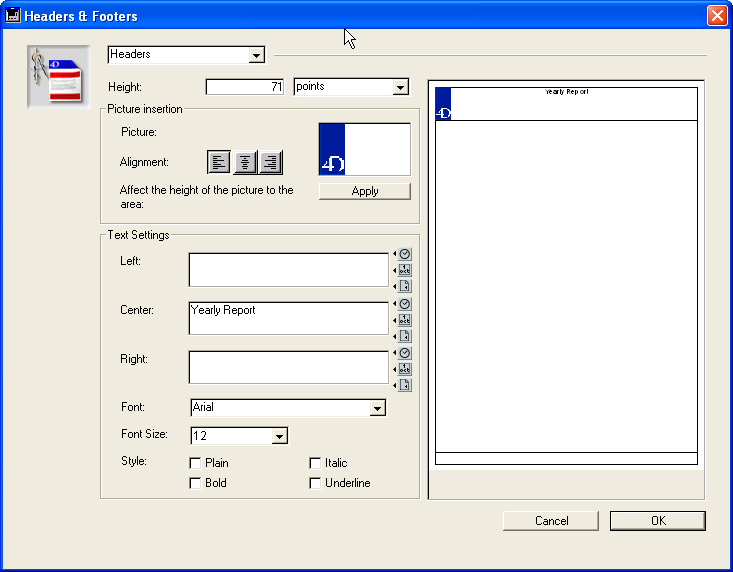
To the right of each entry area, there are three buttons that let you enter variables into the entry area. You can insert the current page number, time of execution, or date of execution:
You can also use the code for the variables directly:- #H for the time,
- #D for the date,
- #P for the page number.
- Assign the font attributes for the header/footer then click OK to validate the changes.

PROPERTIES
Product: 4D
Theme: Quick reports
HISTORY
ARTICLE USAGE
4D Design Reference ( 4D v16)
4D Design Reference ( 4D v16.1)
4D Design Reference ( 4D v16.3)


© 1985-2018 4D SAS / 4D, Inc. All rights reserved.