
4D v16
Defining the Database Structure
 Defining the Database Structure
On the remote 4D machine, after you have connected to the server database (see the Connecting to the Server Database with a Remote 4D section), choose the Database Structure command in the Design menu.
The Structure window appears, empty by default. We are going to create a simple table.
1. Choose New>Table in the File menu or in the 4D toolbar.
OR
Right click in the Structure window and choose Add Table from the context menu.
OR
Click on the add button of the Structure window (in the form of a +) and choose Table.
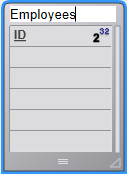
The table is created.
2. Click in the title area and name the table Employees.
3. Double-click in the field area to create a new field.

4. Rename the field Last Name and keep the type Alpha (255).
You can double-click the field in order to display the Inspector palette.
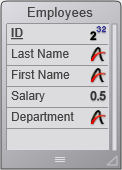
5. Add the following fields to the [Employees] table in the same way:
| Field Name | Field Type |
| First Name | Alphanumeric (255 characters) |
| Salary | Real |
| Department | Alphanumeric (255 characters) |
Note: If other 4D remote applications were working simultaneously with the server database, the fields you have just created will appear on the other client machine in a few moments. The changes are implemented on the server in real time, but do not appear on other screens immediately, to avoid updating the screen too frequently.
After you have defined the [Employees] table, you need forms to add and work with its records. To do so, you could use the New Form Wizard and create forms at your convenience. However, 4D comes with a convenient shortcut for quickly creating default input and output forms.
1. Click on the Tables button of the 4D tool bar.

OR
Choose the Show Current Table command from the Records menu.
The records window is then displayed. 4Ddetects that the table still has no forms and asks if you want to let the program create them for you.
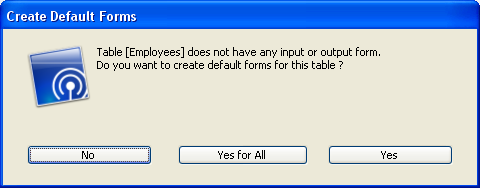
2. Click Yes.
You have now an input form for adding or displaying records one by one, and an output form for displaying or entering multiple records in list mode.
Your server database is ready for data manipulation. Go to the section Data Manipulation with 4D Server.

Product: 4D
Theme: 4D Server in 10 minutes
4D Server Reference ( 4D v16)


