
4D v16
Connecting to the Server Database with a Remote 4D
- 4D Server Reference
-
- 4D Server in 10 minutes
-
- Checking Your Installation
- Creating a Server Database
- Connecting to the Server Database with a Remote 4D
- Defining the Database Structure
- Data Manipulation with 4D Server
- Adding a Custom Menu Bar
- Working Concurrently with 4D Server
 Connecting to the Server Database with a Remote 4D
This section discusses:
- How to connect a remote 4D to the server database you created.
- Creating a database structure. This section includes a tutorial in which you create tables and fields in the database, enter new records, and modify existing records.
- Connecting a second user.
- Working concurrently with two remote clients.
Although you created the database with 4D Server (see section Creating a Server Database), all modifications to the database design and the actual data are performed from the client machines. In this section, you will learn how to connect to the server and open the server database.
1. Double-click the remote 4D application icon.

Note: For the purposes of this tutorial, you can use a 4D application installed on the same machine as the 4D Server.
If this is the first time the 4D application has been launched or if you have not modified the startup parameters, the Welcome Wizard dialog box appears:
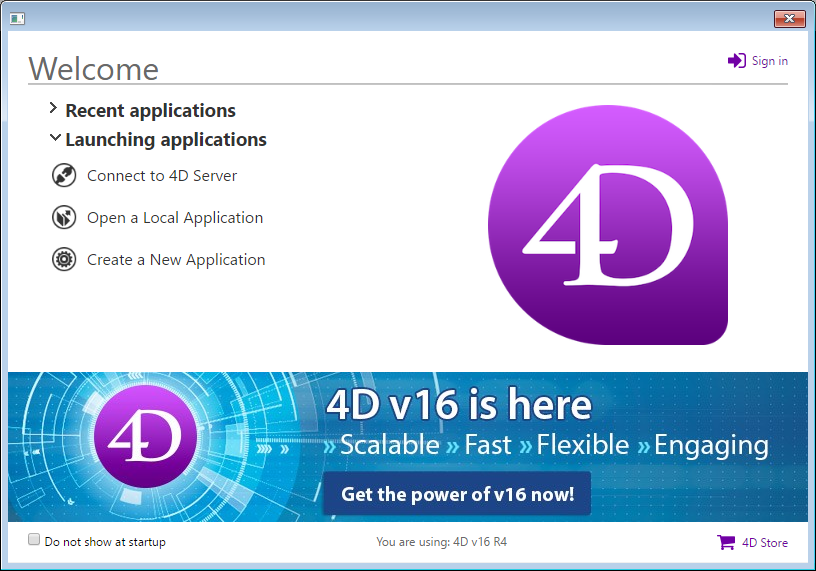
2. Click on "Connect to 4D Server".
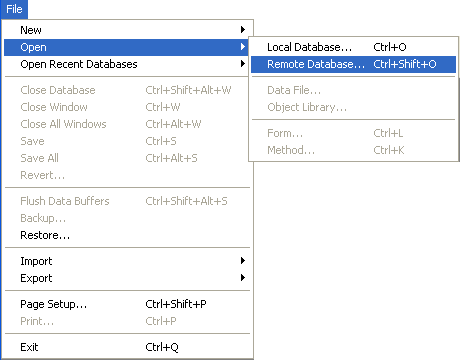
OR:
If this dialog box does not appear, choose Open>Remote Database... in the File menu of 4D:
The Connection dialog box is displayed:
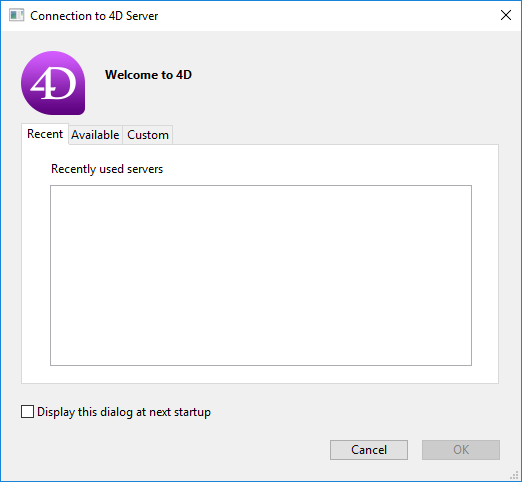
3. Click on the Available tab in order to display the list of 4D databases published on the network.
The Employees database should appear in the list:
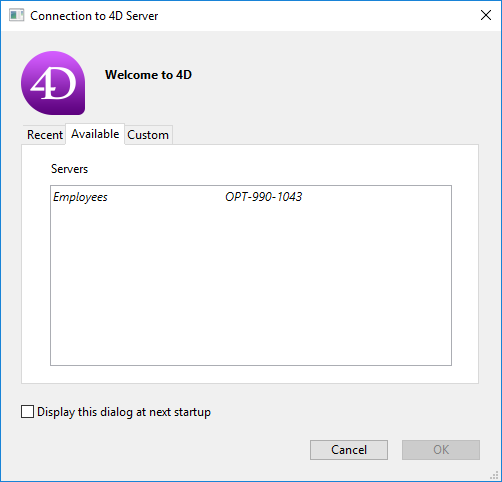
4. Select Employees and click OK.
The database will be opened on the remote workstation. It opens in the Design environment, ready for you to create the structure of your database.
If you do not see the name of the database you have just created with 4D Server, check the following points:
- Is 4D Server still runnning on the other machine?
- If you use a second machine, are both your machines connected to the network?
- Is the TCP/IP protocol correctly configured on both machines?
- If you are not sure about using the Connections dialog boxes, see the section Creating a Server Database.
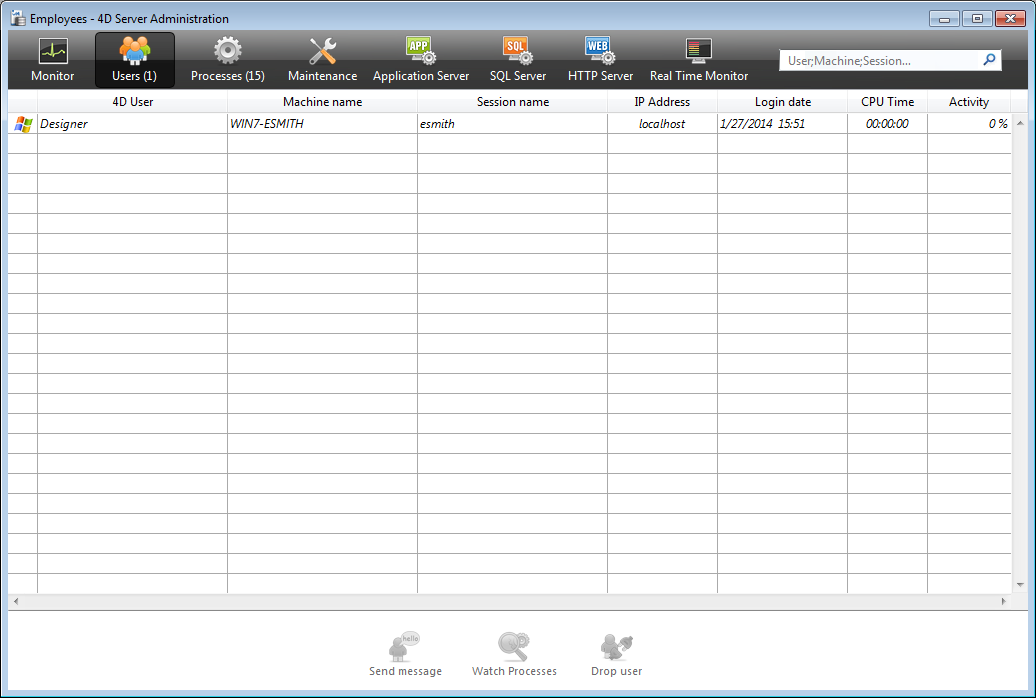
When you look at the 4D Server administration window, note that your network user name appears on the corresponding page and the number of connected users is one (1).
New processes are running:
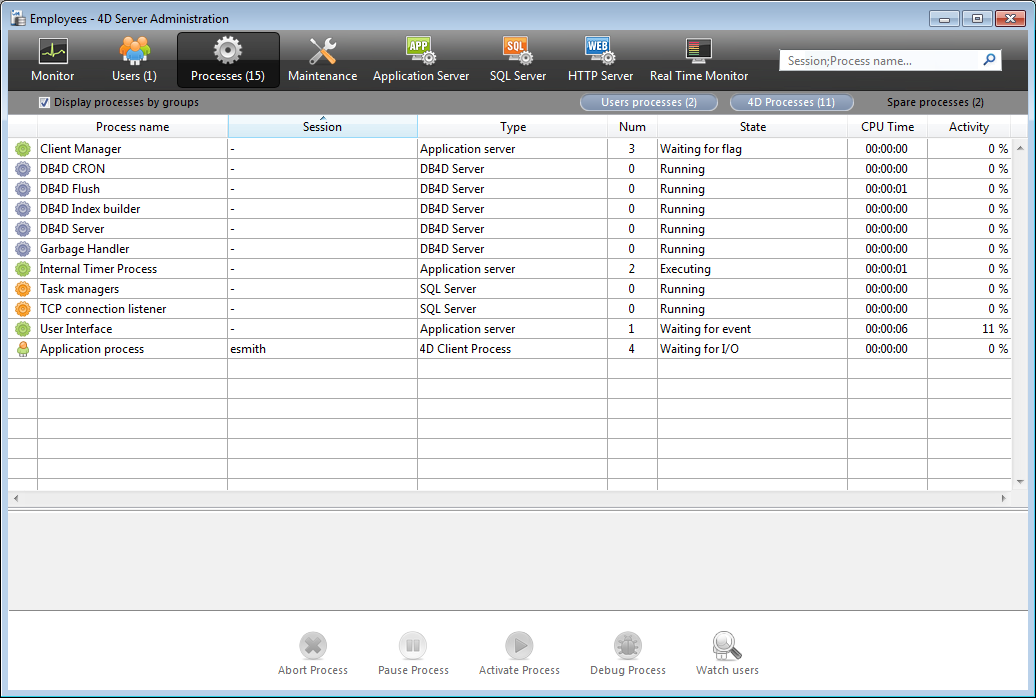
Note: By default, as in the above screen, spare processes are hidden. You can click on the Spare processes button to display them.
The first processes are for 4D Server itself and were created when 4D Server was launched. The new processes are for the first user connecting to the server:
- The Application process manages the record display window and the Application mode.
- The Design process manages the Design mode.
Each additional user will add several more processes to the list of processes.
You can filter the list of processes displayed using the Users processes, 4D Processes, or Spare processes buttons, as well as the search/filtering area in the top right part of the administration window.
Now that you are connected, you can work with the database with the same feature set as that of 4D in local mode. First, you need to define the structure. Go to the section Defining the Database Structure.

Product: 4D
Theme: 4D Server in 10 minutes
4D Server Reference ( 4D v16)


