
4D v16.3
Building a 4D Application
- 4D Language Reference
-
- Introduction
-
- Copyrights and Legal notices
- Preface
- Introduction
- Building a 4D Application
 Building a 4D Application
An application is a database designed to fill a specific need. It has a user interface designed specifically to facilitate its use. The tasks that an application performs are limited to those appropriate for its purpose. Creating applications with 4D is smoother and easier than with traditional programming. 4D can be used to create a variety of applications, including:
- An invoice system
- An inventory control system
- An accounting system
- A payroll system
- A personnel system
- A customer tracking system
- A database shared over the Internet or an Intranet
It is possible that a single application could even contain all of these systems. Applications like these are typical uses of databases. In addition, the tools in 4D allow you to create innovative applications, such as:
- A document tracking system
- A graphic image management system
- A catalog publishing application
- A serial device control and monitoring system
- An electronic mail system (E-mail)
- A multi-user scheduling system
- A list such as a menu list, video collection, or music collection
An application typically can start as a database used in the Design environment. The database “evolves” into an application as it is customized. What differentiates an application is that the systems required to manage the database are hidden from the user. Database management is automated, and users use menus to perform specific tasks.
When you use a 4D database in the Design environment, you must know the steps to take to achieve a result. In an application, you use the Application environment, in which you need to manage all the aspects that are automatic in the Design Environment. These include:
- Table Navigation: The List of Tables window, the Last used tables command or the navigation buttons are not available to the user. You can use menu commands and methods to control navigation between tables.
- Menus: In the Application environment, you only have the default File menu with the Quit menu command, the Edit menu, the Mode and the Help menu (as well as the application menu under Mac OS). If the application requires more menus, you have to create and manage them using 4D methods or standard actions.
- Editors: The editors, such as the Query and Order By editors, are no longer automatically available in the Application environment. If you want to use them, you have to call them using 4D methods.
The following sections include examples showing how the language can automate the use of a database.
Custom menus are the primary interface in an application. They make it easier for users to learn and use a database. Creating custom menus is very simple—you associate methods or automatic actions with each menu command (also called menu items) in the Menu editor.
“The User's Perspective” section describes what happens when the user chooses a menu command. Next, “Behind the Scenes” describes the design work that made it happen. Although the example is simple, it should be apparent how custom menus make the database easier to use and learn. Rather than the “generic” tools and menu commands in the Design environment, the user sees only things that are appropriate to his or her needs.
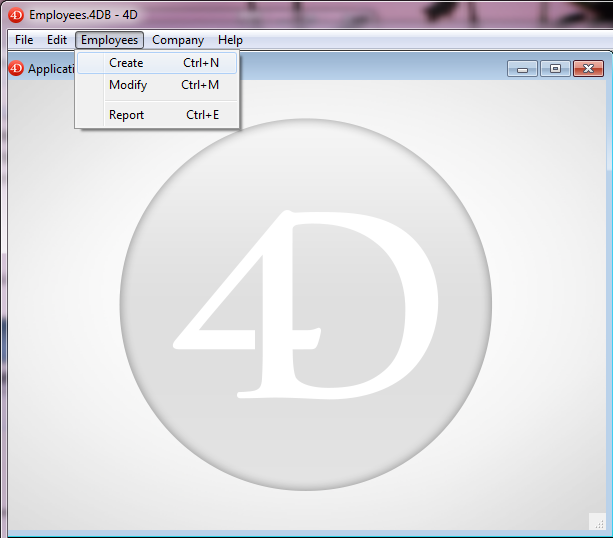
The user chooses a menu item called Create from the Employees menu to add a new person to the database.
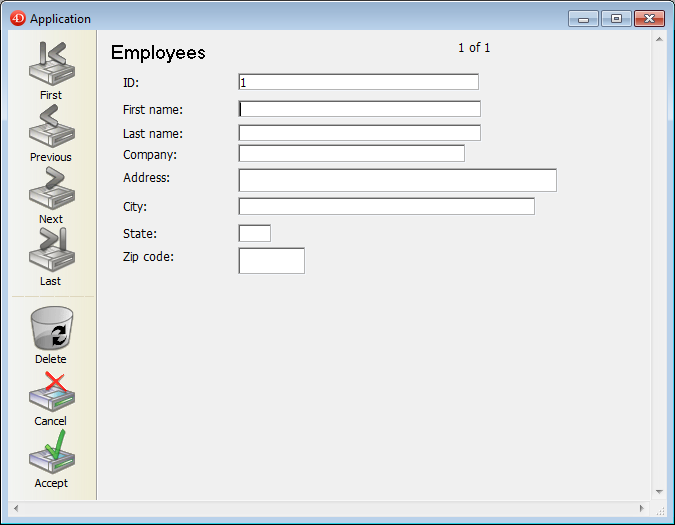
The Input form for the Employees table is displayed.
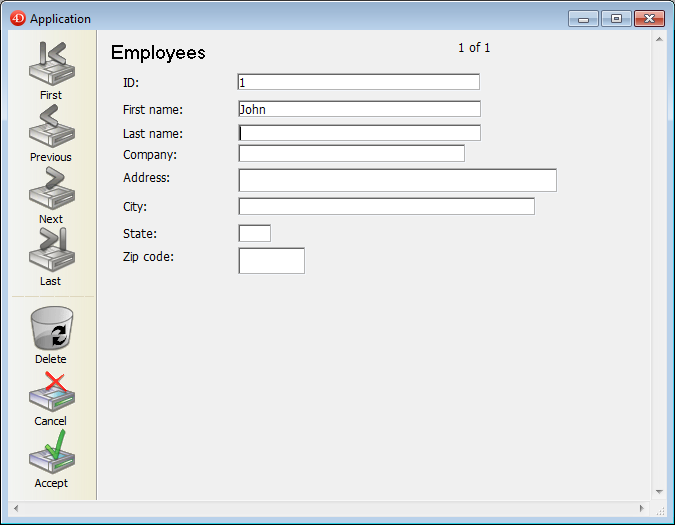
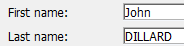
The user enters the person’s first name and then tabs to the next field.
The user enters the person’s last name.
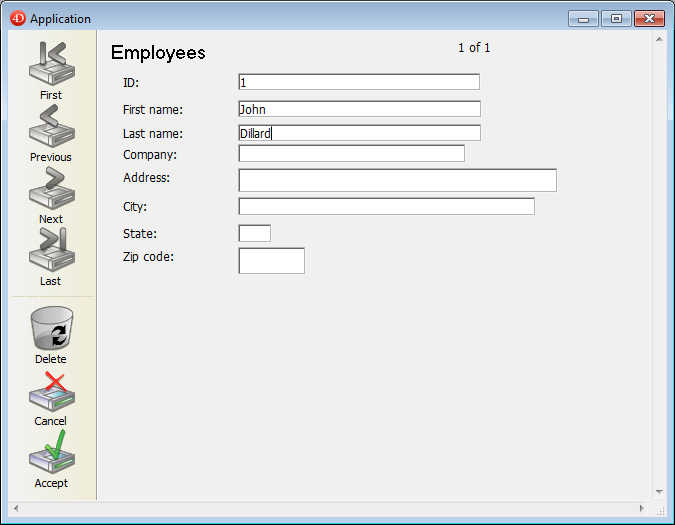
The user tabs to the next field: the last name is converted to uppercase.
The user finishes entering the record and clicks the validation button (generally the last button in the button bar).
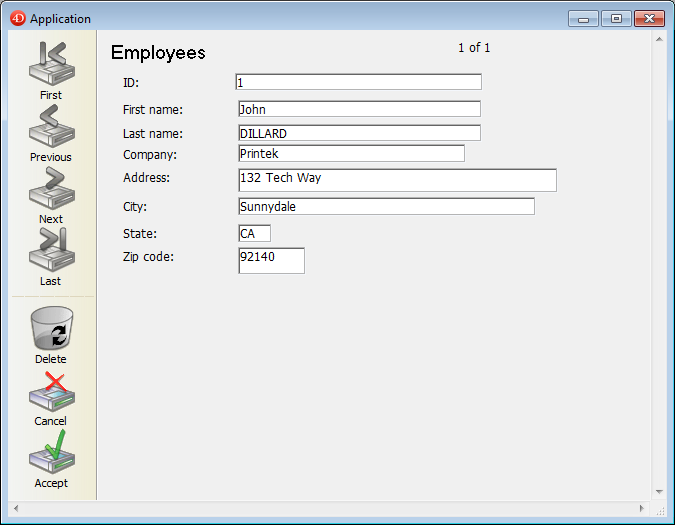
Another blank record appears, and the user clicks the Cancel button (the one with the “X”) to terminate the “data entry loop.” The user is returned to the menu bar.
The menu bar was created in the Design environment, using the Menu Bar Editor.
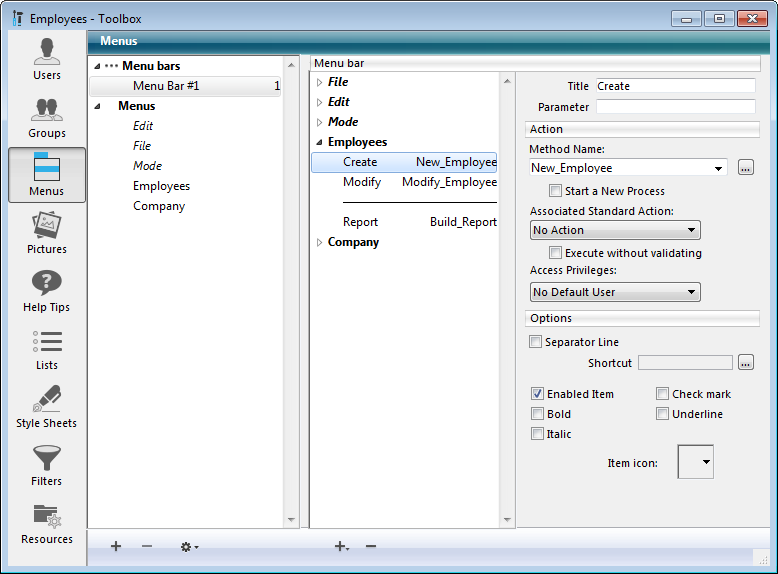
The menu item New has a project method named New Employee associated with it. This method was created in the Design environment, using the Method editor.
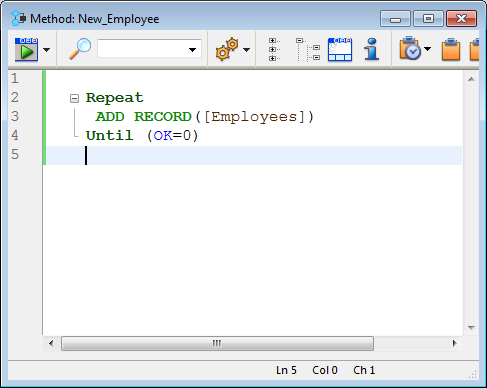
When the user chooses this menu item, the New Employee method executes:
 Repeat

    ADD RECORD([Employees])

 Until(OK=0)
The Repeat...Until loop with an ADD RECORD command within the loop acts just like the New Record menu item in the Design environment. It displays the input form to the user, so that he or she can add a new record. When the user saves the record, another new blank record appears. This ADD RECORD loop continues to execute until the user clicks the Cancel button.
When a record is entered, the following occurs:
- There is no method for the First Name field, so nothing executes.
- There is a method for the Last Name field. This Object Method was created in the Design environment, using the Form and Method editors. The method executes:
[Employees]Last Name:=Uppercase([Employees]Last Name)This line converts the Last Name field to uppercase characters.
After a record has been entered, when the user clicks the Cancel button for the next one, the OK variable is set to zero, thus ending the execution of the ADD RECORD loop.
As there are no more statements to execute, the New Employee method stops executing and control returns to the menu bar.
Let’s compare the way a task is performed in the Design environment and the way the same task is performed using the language. The task is a common one:
- Find a group of records
- Sort them
- Print a report
The next section, “Using a Database in the Design Environment,” displays the tasks performed in the Design environment.
The following section, “Using the Built-in Editors within the Application environment,” displays the same tasks performed in an application.
Note that although both methods perform the same task, the steps in the second section are automated using the language.
The user chooses Query>Query... in the Records menu.
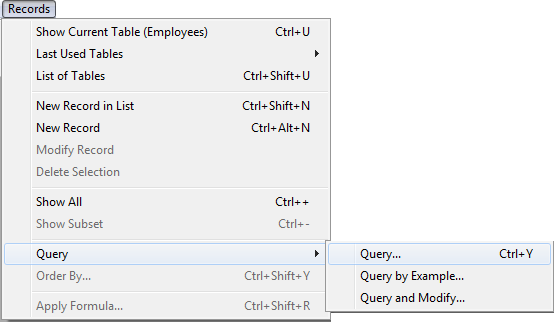
The Query editor is displayed.

The user enters the criteria and clicks the Query button. The search is performed.
The user chooses Order by from the Records menu.
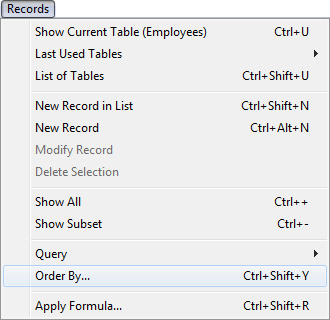
The Order By editor is displayed.
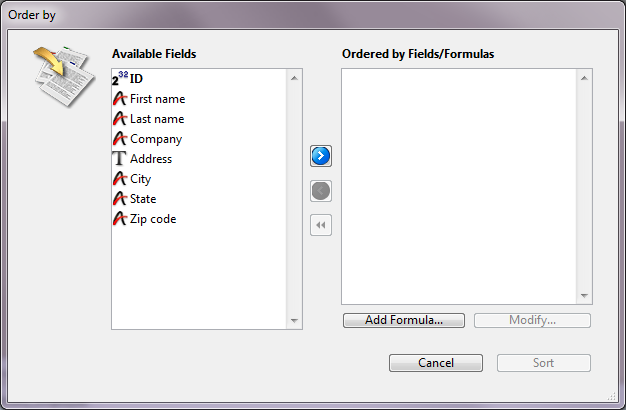
The user enters the criteria and clicks the Sort button. The sort is performed.
Then, to print the records, these additional steps are required:
- The user chooses Print from the File menu.
- The Choose Print Form dialog box is displayed, because users need to know which form to print.
- The Printing dialog boxes are displayed. The user chooses the settings, and the report is printed.
Let’s examine how this can be performed in the Application environment.
The User chooses Report from the Employees menu.
Even at this point, using an application is easier for the users—they did not need to know that querying is the first step!
A method called Build Report is attached to the menu command; it looks like this:
 QUERY([Employees])

 ORDER BY([Employees])

 FORM SET OUTPUT([Employees];"Report")

 PRINT SELECTION([Employees])
The first line is executed:
QUERY([Employees])The Query editor is displayed.
The user enters the criteria and clicks the Query button. The query is performed.
The second line of the Build Report method is executed:
ORDER BY([Employees])Note that the user did not need to know that ordering the records was the next step.
The Order By Editor is displayed.
The user enters the criteria and clicks the Sort button. The sort is performed.
The third line of the Build Report method is executed:
FORM SET OUTPUT([Employees];"Report")Once again, the user did not need to know what to do next; the method takes care of that.
The final line of the Build Report method is executed:
PRINT SELECTION([Employees])The Printing dialog boxes are displayed. The User chooses the settings, and the report is printed.
The same commands used in the previous example can be used to further automate the database.
Let’s take a look at the new version of the Build Report method.
The user chooses Report from the Employees menu. A method called Build Report2 is attached to the menu command. It looks like this:
 QUERY([Employees];[Employees]Company="Acme")

 ORDER BY([Employees];[Employees]Last Name;>;[Employees]First Name;>)

 FORM SET OUTPUT[Employees];"Report")

 PRINT SELECTION([Employees];*)
The first line is executed:
QUERY([Employees];[Employees]Company="Acme")The Query editor is not displayed. Instead, the query is specified and performed by the QUERY command. The user does not need to do anything.
The second line of the Build Report2 method is executed:
ORDER BY([Employees];[Employees]Last Name;>;[Employees]First Name;>)The Order By editor is not displayed, and the sort is immediately performed. Once again, no user actions are required.
The final lines of the Build Report2 method are executed:
 FORM SET OUTPUT[Employees];"Report")

 PRINT SELECTION([Employees];*)
The Printing dialog boxes are not displayed. The PRINT SELECTION command accepts an optional asterisk (*) parameter that instructs the command to use the print settings that were in effect when the report form was created. The report is printed.
This additional automation saved the user from having to enter options in three dialog boxes. Here are the benefits :
- The query is automatically performed: users may select wrong criteria when making a query.
- The sort is automatically performed: users may select wrong criteria when defining a sort.
- The printing is automatically performed: users may select the wrong form to print.
As you develop a 4D application, you will discover many capabilities that you did not notice when you started. You can even augment the standard version of 4D by adding other tools and plug-ins to your 4D development environment.
4D provides several plug-ins that can be used for increasing the capabilities of your 4D applications, including:
- 4D Write: Word-processor
- 4D View: Spreadsheet and list editor
- 4D Internet Commands (built-in): Communication utilities via Internet.
- 4D ODBC Pro: Connectivity via ODBC
- 4D for OCI: Connectivity with ORACLE Call Interface
For more information, contact 4D or its Partners, or visit our Web site:
There is a very active worldwide 4D community, composed of User Groups, Electronic Forums, and 4D Partners. 4D Partners produce Third Party Tools. You can suscribe to the user forum of 4D at the following address:
The 4D community offers access to tips and tricks, solutions, information, and additional tools that will save you time and energy, and increase your productivity.

Product: 4D
Theme: Introduction
4D Language Reference ( 4D v16)
4D Language Reference ( 4D v16.1)
4D Language Reference ( 4D v16.2)
4D Language Reference ( 4D v16.3)


