4D v16.3
Creating a style sheet
- 4D Design Reference
-
- Style sheets
-
- Overview
- Creating a style sheet
- Applying a style sheet
- Automatic style sheets
 Creating a style sheet
You can create style sheets using the Style Sheet editor found in the 4D Tool Box.
To create a style sheet:
- Choose the Tool Box > Style Sheet command in the Design menu.
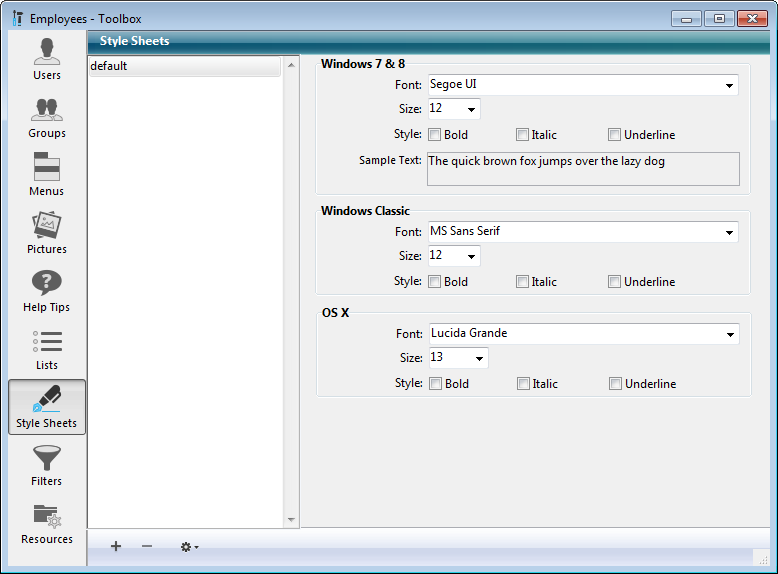
The style sheets page of the tool box appears:
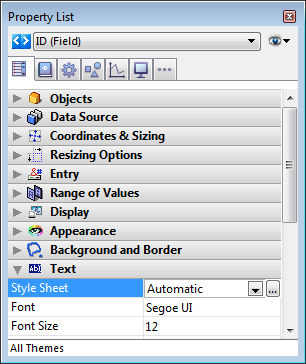
You can also open this window from the Form editor by clicking on the [...] button located next to the style sheet drop-down list of the Property List:

The order in which the areas appear depends on the current operating platform of 4D: for example, the OS X area (as well as the associated sample text) is displayed at the top of the page when 4D is running under OS X.
By default, only the “default” style sheet is available. You can modify this style sheet. - Click on the add button
 of the editor.
OR
Right click in the Style Sheets list area and choose the Add command in the context menu.
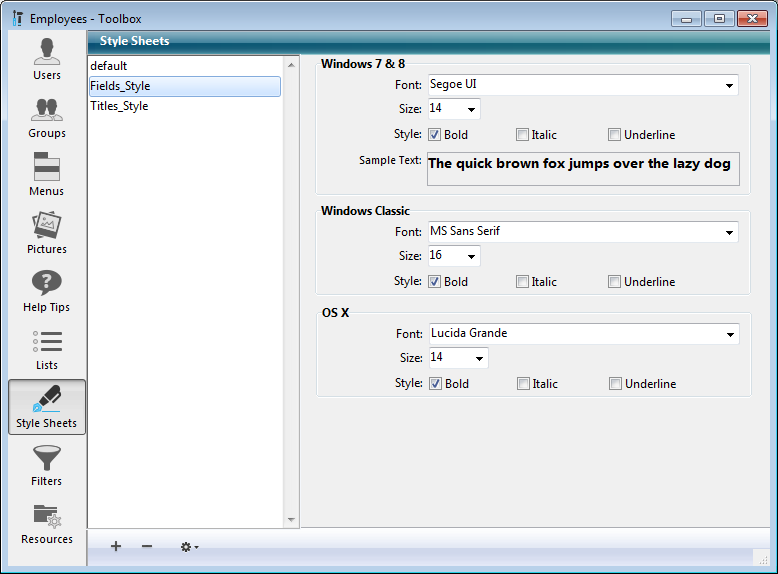
A new style sheet is created in the list. Its name by default is “Style sheetX”. - Click on the style sheet so that it switches to edit mode and give it a new name.
Once the name has been validated, the list of style sheets is automatically re-sorted by alphabetical order. - In the style sheet settings area, choose the desired font as well as its size and style options for each operating platform of the database.
The modifications are saved automatically. The “Sample Text” area reflects your changes for the current platform.
If you want, you can create a new style sheet by duplicating an existing one. This way you avoid having to reset the points in common between the new style sheet and the one duplicated.
To duplicate a style sheet, click with the right button of the mouse on the name of an existing style sheet and choose the Duplicate command in the context menu. You can also select an existing style sheet and choose Duplicate from the options menu of the page.
Product: 4D
Theme: Style sheets
4D Design Reference ( 4D v16)
4D Design Reference ( 4D v16.1)
4D Design Reference ( 4D v16.3)


