4D v18
Installing an ODBC driver on macOS
- 4D ODBC Driver
-
- Installation on macOS
-
- Installing an ODBC driver on macOS
- Uninstalling an ODBC Driver on macOS
4D v18
Installing an ODBC driver on macOS
 Installing an ODBC driver on macOS
To install the ODBC Driver:
- Copy the 4D ODBC bundle into the {Library}/ODBC/ folder
- Open the odbcinst.ini text file found in the /Library/ODBC/ folder with a text editor and modify it as follows:
[ODBC Drivers]
4D ODBC Driver 64-bit = Installed

[4D ODBC Driver 64-bit]
Driver = /Library/ODBC/4D ODBC x64.bundle/Contents/MacOS/4D ODBC x64
Setup  = /Library/ODBC/4D ODBC x64.bundle/Contents/MacOS/4D ODBC x64
APILevel = 2
ConnectFunctions = YYN
DriverODBCVer = 3.52
FileUsage = 0
SQLLevel = 3
Note: You must create this odbcinst.ini text file if it does not already exist.
On macOS, the 64-bit ODBC manager is faceless.
- Click on the System DSN tab.
- Click the Add button and choose the 4D ODBC Driver from the list of configured drivers. The generic DSN generator appears.
- Fill in the following Keyword/Value pairs in the dialog:
Keyword Value Driver /Library/ODBC/4D ODBC x64.bundle/Contents/MacOS/4D ODBC x64 Server <IP address of 4D Server> UID <User's name> PWD <User's password (can be left blank)> 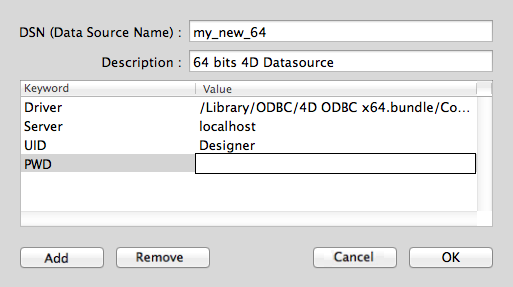
Here is the equivalent for iODBC: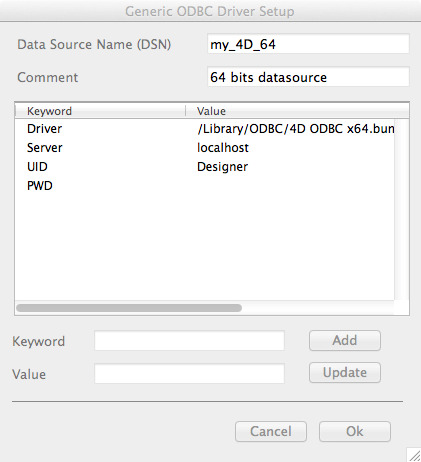
For more information about keywords, please refer to the Keywords section. - Click OK
The new DSN will then be available on the System DSN tab of your ODBC Administrator.

PROPERTIES
Product: 4D
Theme: Installation on macOS
PAGE CONTENTS
HISTORY
Modified: 4D v16 R5
ARTICLE USAGE
4D ODBC Driver ( 4D v18)


© 1985-2020 4D SAS / 4D, Inc. All rights reserved.